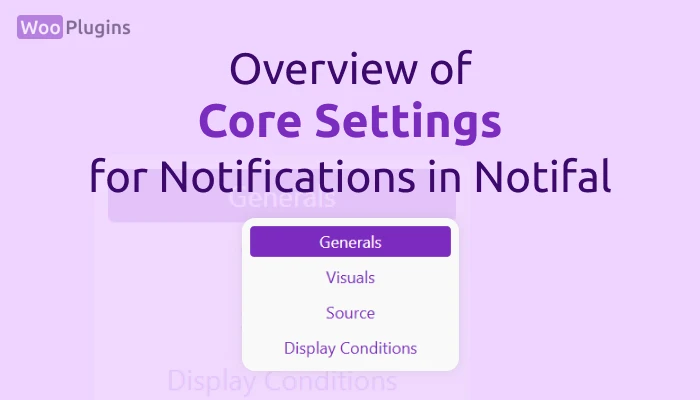
Managing notification settings in Notifal is straightforward and organized into four key sections, each accessible through dedicated tabs. Here’s a breakdown of the structure and functionality:
1. Tabs in the Settings Panel
The settings panel is divided into four tabs, each serving a specific purpose:
- Generals:
Includes general notification settings like:- Notif Title: For categorizing and identifying notifications.
- Notif Status: To enable or disable the notification.
- Target Products: A crucial setting allowing you to specify which products the notification applies to (explained further in its dedicated documentation).
- Visuals:
This section manages all visual aspects of notifications, including:- Templates
- Colors and sounds
- Text and timing
- Source:
Specifically designed for sales notifications, this tab controls:- Whether data is pulled from WooCommerce orders.
- Whether fake orders are generated and displayed.
- Display Conditions:
Handles conditions for displaying notifications, such as:- Hiding notifications on certain pages like the checkout page.
To access each tab, users must click on its title, simplifying navigation through the settings.
2. Saving Settings
- Save Button:
At the bottom of the settings page, a Save button allows users to save all changes.- Users can make adjustments in multiple tabs and save them all at once.
- Saving happens manually; there is no auto-save functionality.
- Tip: It’s advisable to save periodically to prevent losing any changes.
- Post-Save Behavior:
- Once saved, a success message appears in the top-right corner:
- “Notif saved successfully, reloading…”
- The page reloads to apply the settings.
- Once saved, a success message appears in the top-right corner:
3. Error Messages and User Guidance
- If a critical field (e.g., Notif Title) is left blank, an error message will appear in the top-right corner.
- Error messages are personalized to explain the issue.
- Users can click “Click Here” within the error message to be taken directly to the problematic field.
- Fields with errors are visually highlighted with a blinking red border for better visibility.
4. Handling Pro-Only Settings
- Pro Features Highlighted:
Settings exclusive to the Pro version are marked in yellow with the label “PRO”.- Clicking on these settings triggers a pop-up explaining that upgrading to Pro is necessary to use these features.
- Distribution of Pro Settings:
Pro-only options can appear in any of the tabs.
5. Optimized User Experience
- Logical Arrangement:
Settings are sequenced thoughtfully, guiding users from simple to advanced configurations. For example, Target Pages isn’t placed at the start, avoiding confusion. - Tooltips for Clarity:
Each setting has a tooltip icon (!) with clear, concise explanations, enhancing ease of use. - Comprehensive Documentation:
All settings are detailed in Notifal’s documentation for additional support.
6. Why Tabs?
- Streamlined Navigation:
Dividing settings into tabs improves user experience, allowing users to progress step-by-step without feeling overwhelmed. - Beginner-Friendly:
The design ensures that even beginners can configure notifications without prior technical knowledge.
Key Notes
- Success and error messages are displayed in the top-right corner:
- Success: Purple message.
- Error: Red message.
- After saving, the page reloads to ensure changes are applied effectively.
- The settings layout aims to help users create notifications quickly without unnecessary complexity.
By organizing settings across intuitive tabs and providing extensive tooltips and feedback, Notifal empowers users to customize notifications easily, whether they’re new to the platform or seasoned users.
